Image Auto Poster is a premium plugin that automates posting images from your posts to your Pinterest account.
How the plugin works?
The plugin allows you to automatically Pin images from your posts to your account. While working on your post in the post editor, there’s a new box that allows you to choose which images from this post should be pinned automatically. Selected images go to the Pinning Queue and will be pinned whenever possible. Alternatively, you can add images from multiple posts to the Pinning Queue at once using bulk actions (ideal for working with older posts).
Pinning Queue is a list of images that are to be pinned. Since Pinterest doesn’t allow to pin multiple images in a short period of time, the plugin keeps it safe and pins one image every minute*. In the settings panel you can check out the status of the queue. As long as the image isn’t pinned yet, you can remove it from the queue. The queue also shows links to pinned images so you can make sure everything went just fine.
The plugin features a table of logs where information about the plugin’s activity is being stored. It stores information about what happened and when plus details about errors if there are any. If something did go wrong with the pinning process, you should be able to find that infromation in the logs, possibly with a suggestion on what to do to fix this.
* – The plugin uses WordPress’ cron scheduler (WP-Cron). WP-Cron does not run constantly as the system cron does; it is only triggered on page load. That means that images will be taken from the Pinning Queue and pinned each time (and a minimum of one minute apart) someone visits your website (admin pages count too). If you’re just starting out and your traffic is very low (a few visits a day), it might take a while for the images to get pinned, especially if there are a lot of images waiting to get pinned in the queue. If your traffic is higher than that, there shouldn’t be any issues.
Settings
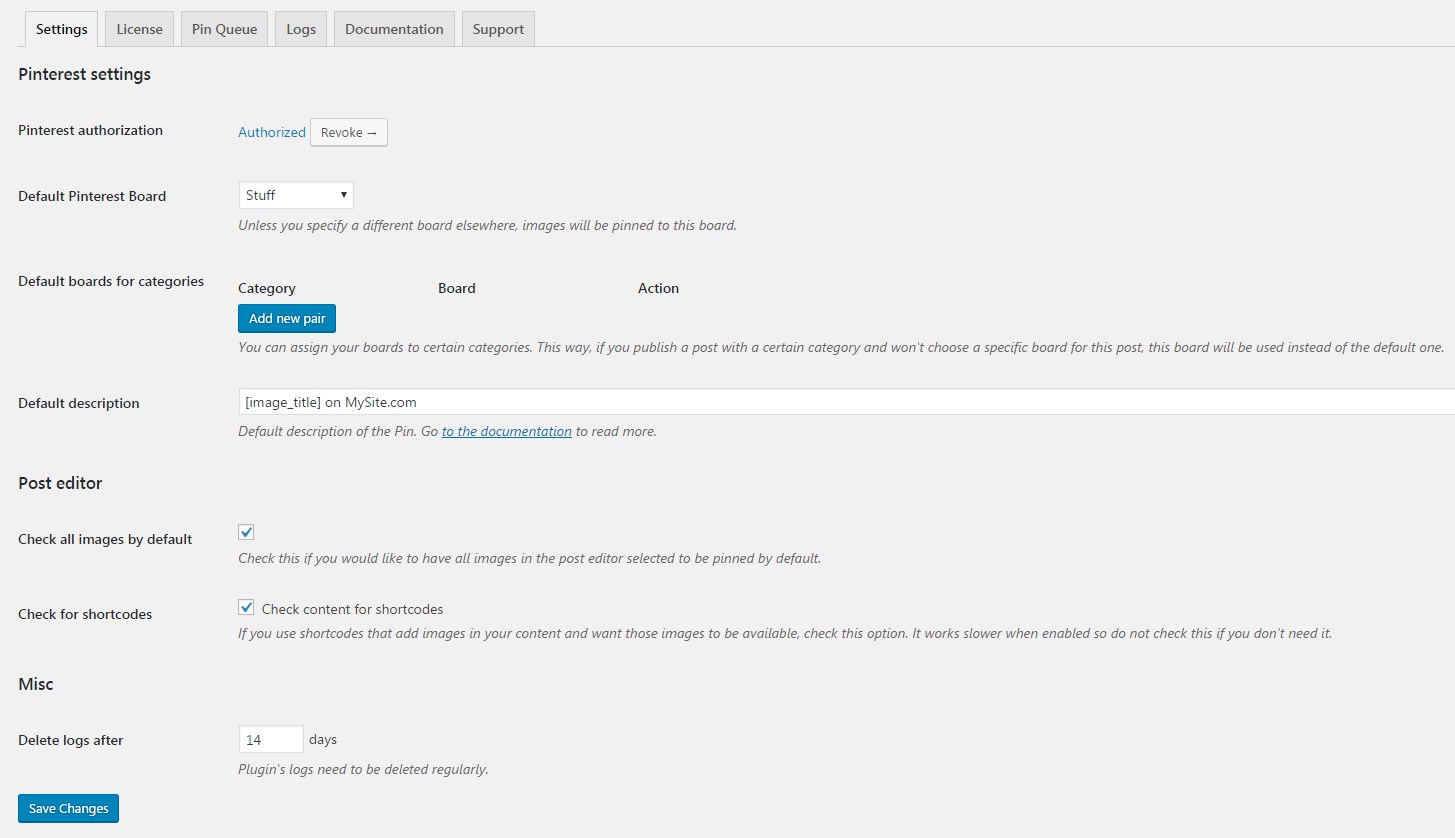
Pinterest Settings
This setting allows you to authroize your Pinterest account. Here you can find how to authorize your account.
Default Pinterest Board
Here you choose what’s the default board for your pins. The default board will be used if you don’t specify a board for the category of the post or the post itself.
(Pro Only) Default boards for categories
This setting allows you to pair your categories with boards. When a category is paired with a board, the board becomes the default board for posts with that category and takes priority over Default Pinterest Board setting above. You can pair as many or little categories with boards as you need. This settings allows you to add, edit and remove pairs easily, so you can adjust those pairs any time you want.
Default description
Here you set the default description for your Pins (so you don’t have to set it for every image separately). This setting allows you to use tags and first not-empty clause (more below). Please note that you shouldn’t use the following characters: [ ] { | } in the description unless you’re using them for tags or first not-empty clause. If the syntax of the description can’t be parsed (you’re not using the mentioned characters properly) it will cause an error and won’t be saved.
Here are currently available tags:
- [post_author] – author name
- [post_excerpt] – the excerpt of the post
- [post_tags] – post tags as Pinterest tags
- [post_title] – the title of the post
- [image_title] – the title attribute of the image
- [image_alt] – the alt attribute of the image
First not-empty clause looks like the following: {option1|option2|option3}. This clause uses { character to start and } character to end. The | character separates options. Those options inside can include tags, plain text, plain text mixed with tags, or even another not-empty clause mixed with tags and text. As the name suggests, this clause chooses the first of the options that returns a not-empty result.
Let’s say we have the following default description: {[image_title]|[image_alt]|Beautiful image} on mysite.com. There are three possible results of this description for an image. If the images has the title atribute (let’s say it’s “Dancing rabbits”) this description will return Dancing rabbits on mysite.com. If the title attribute is absent, but the alt attribute is available (let’s say it’s “Peaceful beach”) this description will return Peaceful beach on mysite.com. If both title and alt attributes aren’t there, this description will return Beautiful image on mysite.com.
Post Editor
These settings affect the way plugin’s meta box in the post editor works.
Check all images by default
Check this if you want all your images checked to be added to the pinning queue automatically.
(Pro Only) Check for shortcodes
The plugin by default only searches for images in the HTML in the text editor. If you are using shortcodes (like image gallery shortcodes) to add images to the post, check this settings. Once checked, the plugin will also go through the shortcodes in your html and get images from there as well. If you’re not using image-related shortcodes in your posts keep this setting unchecked as using it adds some overhead.
Misc
Delete logs after
The logs are being stored to monitor the activity of the plugin. The number of logs raises quite quickly so in order to not burden your database old logs need to be deleted. If you’re pinning a large number of images, set this number to 7. In most cases the default 14 days are just fine. Generally speaking, even if you pin a lot of images and keep the logs for 14 days or more nothing bad should happen to the performance of your website.
Post Editor
The Post Editor is the place where you choose images that should be pinned automatically for the post you’re currently editing. The plugin adds a single box to the side where it lists images available in the post and allows to change the Pinterest board and description that should be used for this particular post.
Images
The Images table consists of three columns:
- Checked? – here you can check if the image should be pinned. If the image is already pinned or in the Pinning Queue, this column remains empty.
- Image – preview of the image
- Action/Status – if the image is already pinned or in the Pinning Queue, this column lets you know about it. It also allows to remove images from the waiting queue in case you decided to not pin an image after all.
Checked images are added to the Pinning Queue each time you save the post.
Workflows
Authorizing your Pinterest account
Authorizing your Pinterest account is the first thing you need to do in order to use the plugin. Here’s how to do it:
- Go to Settings
- Find the Pinterest authorization setting and click the Authorize button. That will take you to Pinterest’s authorization site.
- Confirm authorization. You will be redirected to highfiveplugin.com for a brief moment (you will see a blank screen with the message “Redirecting..”).
- You should be taken back to your settings page. Once if loads, after a few seconds you should notice that the Pinterest authorization setting says you’re authorized.
- Done
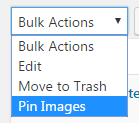
(Pro Only) Pinning images from older posts
- Go to Posts and select posts you wish to add images from to the Pinning queue
- From Bulk actions select Pin Images and click Apply